
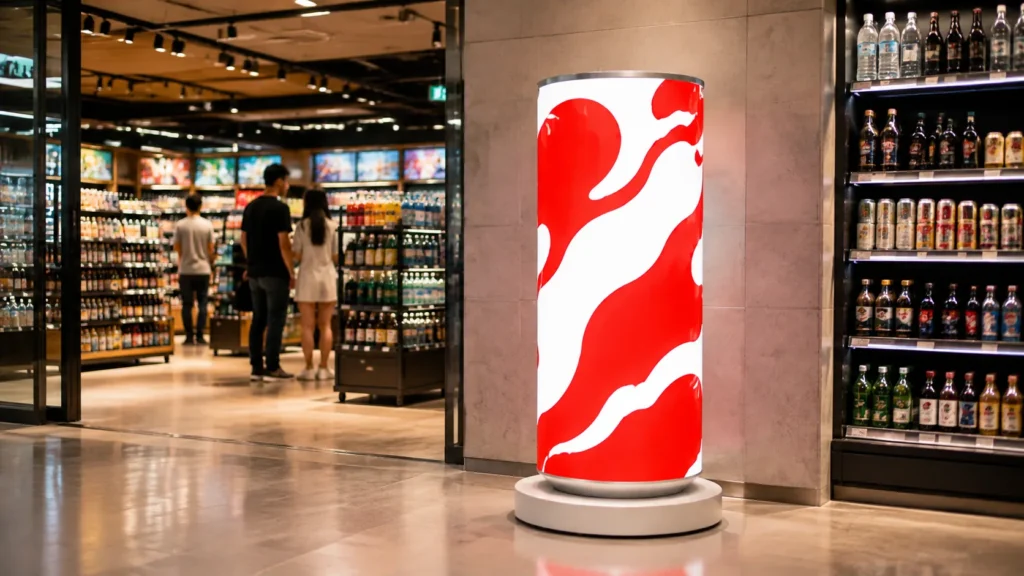
A can-shaped LED display needs content prepared for its actual display surface. A rectangular campaign video may contain the right artwork, but its text, timing and composition still need to be checked on the selected screen. Give the designer the technical map and the viewing brief before asking for a finished animation.
This guide focuses on content preparation rather than hardware selection. For a product comparison, see the indoor versus outdoor LED can display checklist. The product illustration above shows the display format; confirm the active area and content map for your selected configuration.
Request the pixel map before design begins
Ask the supplier for the final active display resolution, an annotated pixel map and a content template for the proposed configuration. Confirm which surfaces display content and whether they are addressed as one canvas or separate outputs. Do not infer the pixel dimensions from the physical diameter or the appearance of a product photograph.
The template should identify the starting edge, orientation and any joins, inactive regions or areas that should be kept clear. Ask how the map is loaded into the proposed controller and who will confirm that the installed display matches it. If the hardware configuration changes, have the template checked again before approving the final export.
Describe where the audience will see the message
Mark the principal approach directions on a simple venue plan. Identify the main viewing position, the nearest intended viewing point and any directions blocked by walls, fixtures or neighboring displays. Explain whether people will be walking past, waiting nearby or viewing the screen across a larger area.
A wraparound layout should be reviewed from those positions, not only as a flat artwork file. Depending on the active surface and installation, some text may be around an edge or outside a viewer’s immediate view. Ask the designer to place the essential brand and message where the intended audience can see them together.
For an indoor LED can display, include the surrounding retail or event lighting in the brief. If the project uses an outdoor LED can display, describe its exposure and intended viewing conditions so the supplier can review the configuration separately from the artwork.
Give the loop one clear communication job
Choose the main job of the content: identify a product, announce a campaign, welcome visitors or direct attention to an adjacent promotion. Write the essential message in plain text before building the animation. Provide the approved logo, product artwork, spelling and any campaign wording that must remain unchanged.
Decide which elements must be visible throughout the sequence and which can change. For example, the brief might keep the brand mark in an agreed area while background imagery changes. Treat this as a creative choice to test on the screen rather than a universal layout rule.
Keep any essential visitor instruction understandable without waiting for a particular point in a long sequence. When several messages are necessary, agree their priority and review whether each can be understood during the audience’s likely viewing opportunity.
Test text, joins and movement as separate issues
Start with a still test layout that includes the intended logo, representative text and alignment marks. Check text size, line breaks and contrast from the planned viewing positions. Look for letters or critical details crossing a join or moving into an area that is difficult to see.
Then test the animation. Review the direction of movement, transitions between scenes and the point where the loop returns to its beginning. Confirm that any continuous movement across the mapped boundary behaves as intended. A successful flat preview does not establish that the loop will appear continuous on the installed display.
Use the actual display and control configuration for final approval when available. If only a simulation is available during design, record that limitation and keep an on-site content check in the commissioning plan.
Agree export settings and content ownership
Obtain the accepted file types, resolution, frame rate and other playback requirements from the supplier for the chosen controller. Ask whether the playback software scales or crops incoming files. Review a sample export before producing the full content package so a technical mismatch can be addressed early.
Provide a static fallback if the operating plan calls for one, and agree what should be shown when a campaign ends. Name files so staff can distinguish approved content from tests and obsolete versions. Keep an editable master, exported playback files and the approved map together in the handover folder.
Assign responsibility for approving copy, exporting files, uploading content and retiring old campaigns. Confirm that the team has the necessary rights to the supplied logos, photography, video and other creative assets.
Use a short acceptance record
Agree how the final content will be reviewed and who can sign it off. A practical acceptance record includes:
- The display configuration, pixel map and controller used for the check.
- The exact filename and version of each approved playback file.
- The viewing positions used to review text and composition.
- The observed alignment, transitions and loop boundary.
- Any changes still required, their owner and the planned recheck.
Keep hardware acceptance and creative approval connected, while recording what was actually tested. If the display mapping or playback settings later change, review the approved files again.
Share your display configuration and content brief with JIAMI TV to confirm the technical information your designer needs before final artwork production.