
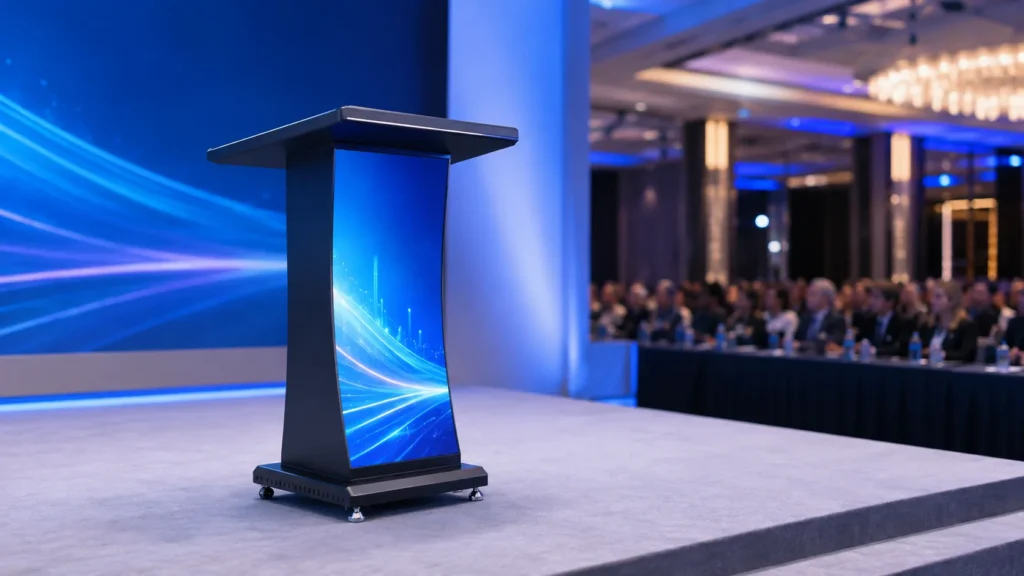
A creative LED display can be part of a live audience experience and part of a camera shot at the same event. Those two uses need to be reviewed together. Before a conference, launch or streamed presentation, arrange a camera test that reproduces the intended equipment, content and viewing positions.
This checklist is a planning aid for the display supplier, camera crew and event team. It does not prescribe a universal shutter setting or guarantee that a particular display specification will suit every recording setup. The product image above illustrates an event display format; it is not evidence of a completed camera test.
Define the shots that matter
List the shots in which the LED display will appear: a wide stage view, a presenter close-up, a moving camera shot or a product demonstration. Mark the expected camera positions and approximate distances on the venue plan. Identify whether the display must remain legible, provide a visual background or do both.
Include the intended camera movements and changes in framing. A test of one static shot leaves those other situations unchecked. Agree which shots are essential to the event and which can be adjusted if the combination of screen, content and camera needs a different arrangement.
Bring the intended camera and display configuration
Record the camera body, lens, recording mode and planned frame rate. Ask the camera operator to document the shutter setting, focus, aperture and exposure used in each test. Include any additional camera that will need its own approval rather than assuming a successful test transfers to another model.
On the display side, identify the selected display model, pixel pitch, controller and relevant operating settings. Keep a copy of the display map and configuration used for the test. If the supplier cannot provide the final system at this stage, record the differences between the demonstration setup and the proposed event installation.
For a presentation project, discuss the LED lectern display together with the planned presenter framing. For a shaped feature in the background, such as an LED sphere display, show the supplier how much of the display will occupy each shot.
Separate timing artefacts from patterned interference
Describe any visible problem instead of treating every camera artefact as the same fault. Record whether the image contains moving bars, stationary lines, a patterned interference effect or a change that only appears during camera movement.
Brompton Technology’s technical overview distinguishes refresh and shutter timing issues from moiré caused by interaction between the screen and camera pixel grids. It also recommends testing camera moves with the actual panels. The practical implication is to have the camera and display teams identify the symptom together before changing settings.
Ask the supplier which timing or synchronization controls are available on the quoted system. Do not assume that a processing feature described for another manufacturer’s equipment is included. If the team changes camera position, focus or display settings, preserve the first test clip and record the change so its effect can be compared.
Use representative content and lighting
Prepare a short test package containing the event logo, typical text, expected background graphics and a sample of the planned animation. Include the light and dark scenes that will actually be used. Confirm that the files are exported for the chosen display map and playback requirements.
Test with the intended stage or venue lighting where possible. Check the person or product in the foreground as well as the LED image behind it. Ask the camera crew to assess exposure and color under the agreed recording workflow; a display that looks acceptable in isolation has not yet been checked as part of the complete shot.
Review transitions and the loop boundary, not just a paused frame. For a curved or wrapped surface, include text placement and the visible edges of the content in the review. Keep any changes to artwork linked to a version number so the event operator knows which file was approved.
Review the recorded output
Save and inspect recordings from the intended production path. If the event will use a switcher, recorder or streaming workflow, include that path in the test where available. Document any parts of the final production chain that were not present.
Have the camera crew review the clips at the relevant output size and playback conditions. Keep the original recordings for diagnosis rather than relying only on a phone video of a monitor or a heavily compressed messaging attachment. When a shot is approved, associate that approval with the actual settings and file version used.
Leave a usable acceptance record
Before closing the test, create one shared record containing:
- The display model, controller and configuration identifiers.
- The camera, lens, recording mode and settings for each approved shot.
- The camera positions, movements and lighting conditions tested.
- The exact playback files and recorded clip references.
- Outstanding issues, the person responsible and the planned recheck.
Repeat the relevant checks if equipment, display configuration, content or the camera plan changes. Agree who can approve a last-minute change and who will retain the final configuration backup.
Share your event camera plan with JIAMI TV when discussing a creative LED display. Providing the shot list and recording requirements early helps the supplier and production team define a meaningful test before event day.